Insight: Install TeamViewer On Ubuntu 18.04
TeamViewer is one of the popular software for remote desktop access. It is cross platform software nd is available on Linux, MacOS, and Windows. In this tutorial, we are going to show you the process to install TeamViewer on Ubuntu 18.04 LTS.
Install TeamViewer On Ubuntu 18.04 LTS
There are various way to install TeamViewer on Ubuntu 18.04 LTS. One of the method is to install it via command line. Today, we will install TeamViewer on Ubuntu via command line mtethod.
Run the following command to download and add TeamViewer repository key in your Ubuntu system.
$ cd /tmp
$ wget https://download.teamviewer.com/download/linux/signature/TeamViewer2017.asc
You need to add the .asc key file which will be downloaded to your Downloads folder by default.
$ sudo apt-key add TeamViewer2017.asc
Now, Run the following command to add the official TeamViewer repository.
For Stable version:
$ sudo sh -c 'echo "deb http://linux.teamviewer.com/deb stable main" >> /etc/apt/sources.list.d/teamviewer.list'
For Preview version:
$ sudo sh -c 'echo "deb http://linux.teamviewer.com/deb preview main" >> /etc/apt/sources.list.d/teamviewer.list'
Now, Update your system.
$ sudo apt update
Finally, Install TeamViewer in Ubuntu 18.04 LTS.
$ sudo apt install teamviewer
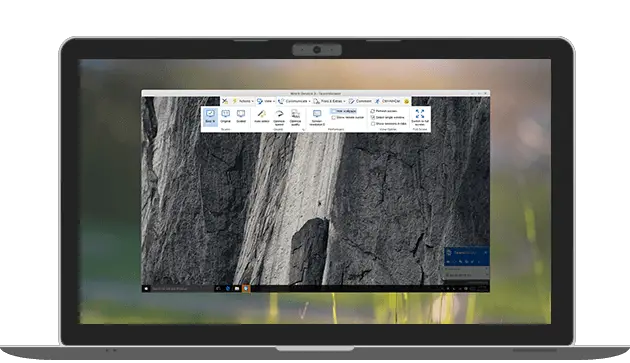
It will install TeamViewer in your system. You can open it through application dashboard.
Just in-case if you need to uninstall TeamViewer from your system.
$ sudo apt remove teamviewer
![How To Remove Software In Ubuntu 22.04 LTS [ All Ubuntu Version]](https://itsubuntu.com/wp-content/uploads/2023/01/How-To-Remove-Software-In-Ubuntu.jpg)