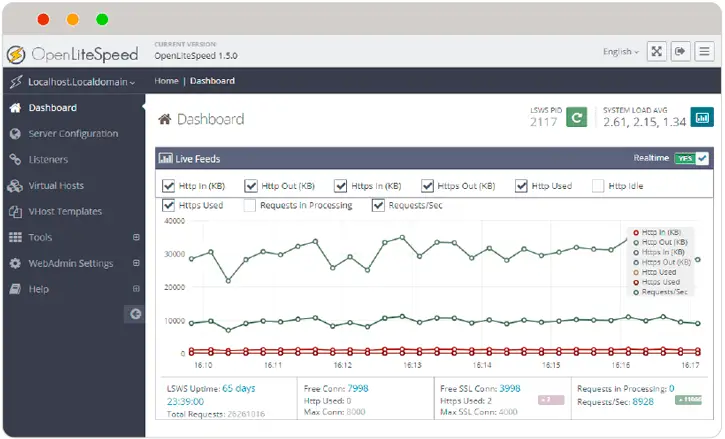
OpenLiteSpeed is a lightweight and open source web server. It is developed by LiteSpeed Technology. In this post we are going to show you the steps to install OpenLiteSpeed on Ubuntu Linux. You might not have heard much about OpenLiteSpeed but it is feature rich webserver applications that you can use without any hesitations.
How To Install OpenLiteSpeed On Ubuntu
Run the following command to add the OpenLiteSpeed repository:
wget -O - http://rpms.litespeedtech.com/debian/enable_lst_debian_repo.sh | sudo bash
Now, You can then run the commands below to install OpenLiteSpeed in your Ubuntu based operating system:
sudo apt update
sudo apt install openlitespeed
Run the following commands to start and enable OpenLiteSpeed services to automatically startup when the server boots.
sudo systemctl stop lshttpd
sudo systemctl start lshttpd
sudo systemctl enable lshttpd
Run the following command to see if OpenLiteSpeed service is running or not.
sudo systemctl status lshttpd
How To Change The Port Number In OpenLiteSpeed?
OpenLiteSpeed is automatically assigned port 8088 whereas Port 80 is a default port for web server. So if you want to change the port number and want OpenLiteSpeed to listen on port 80 then go through the following steps.
At first run the following commandsto open the configuration file of OpenLiteSpeed.
sudo nano /usr/local/lsws/conf/httpd_config.conf
Now, you need to change the port number in the configuration file. Look for the line “address” and change the highlighted port from 8088 to 80.
listener Default{
    address                  *:80
    secure                   0
    map                      Example *
}
After changing port number, you need to save your changes and exit. Restart OpenLiteSpeed by running the commands below and you are ready to go.
sudo systemctl restart lshttpd


