5 Ways To Take Screenshot On An HP Laptop
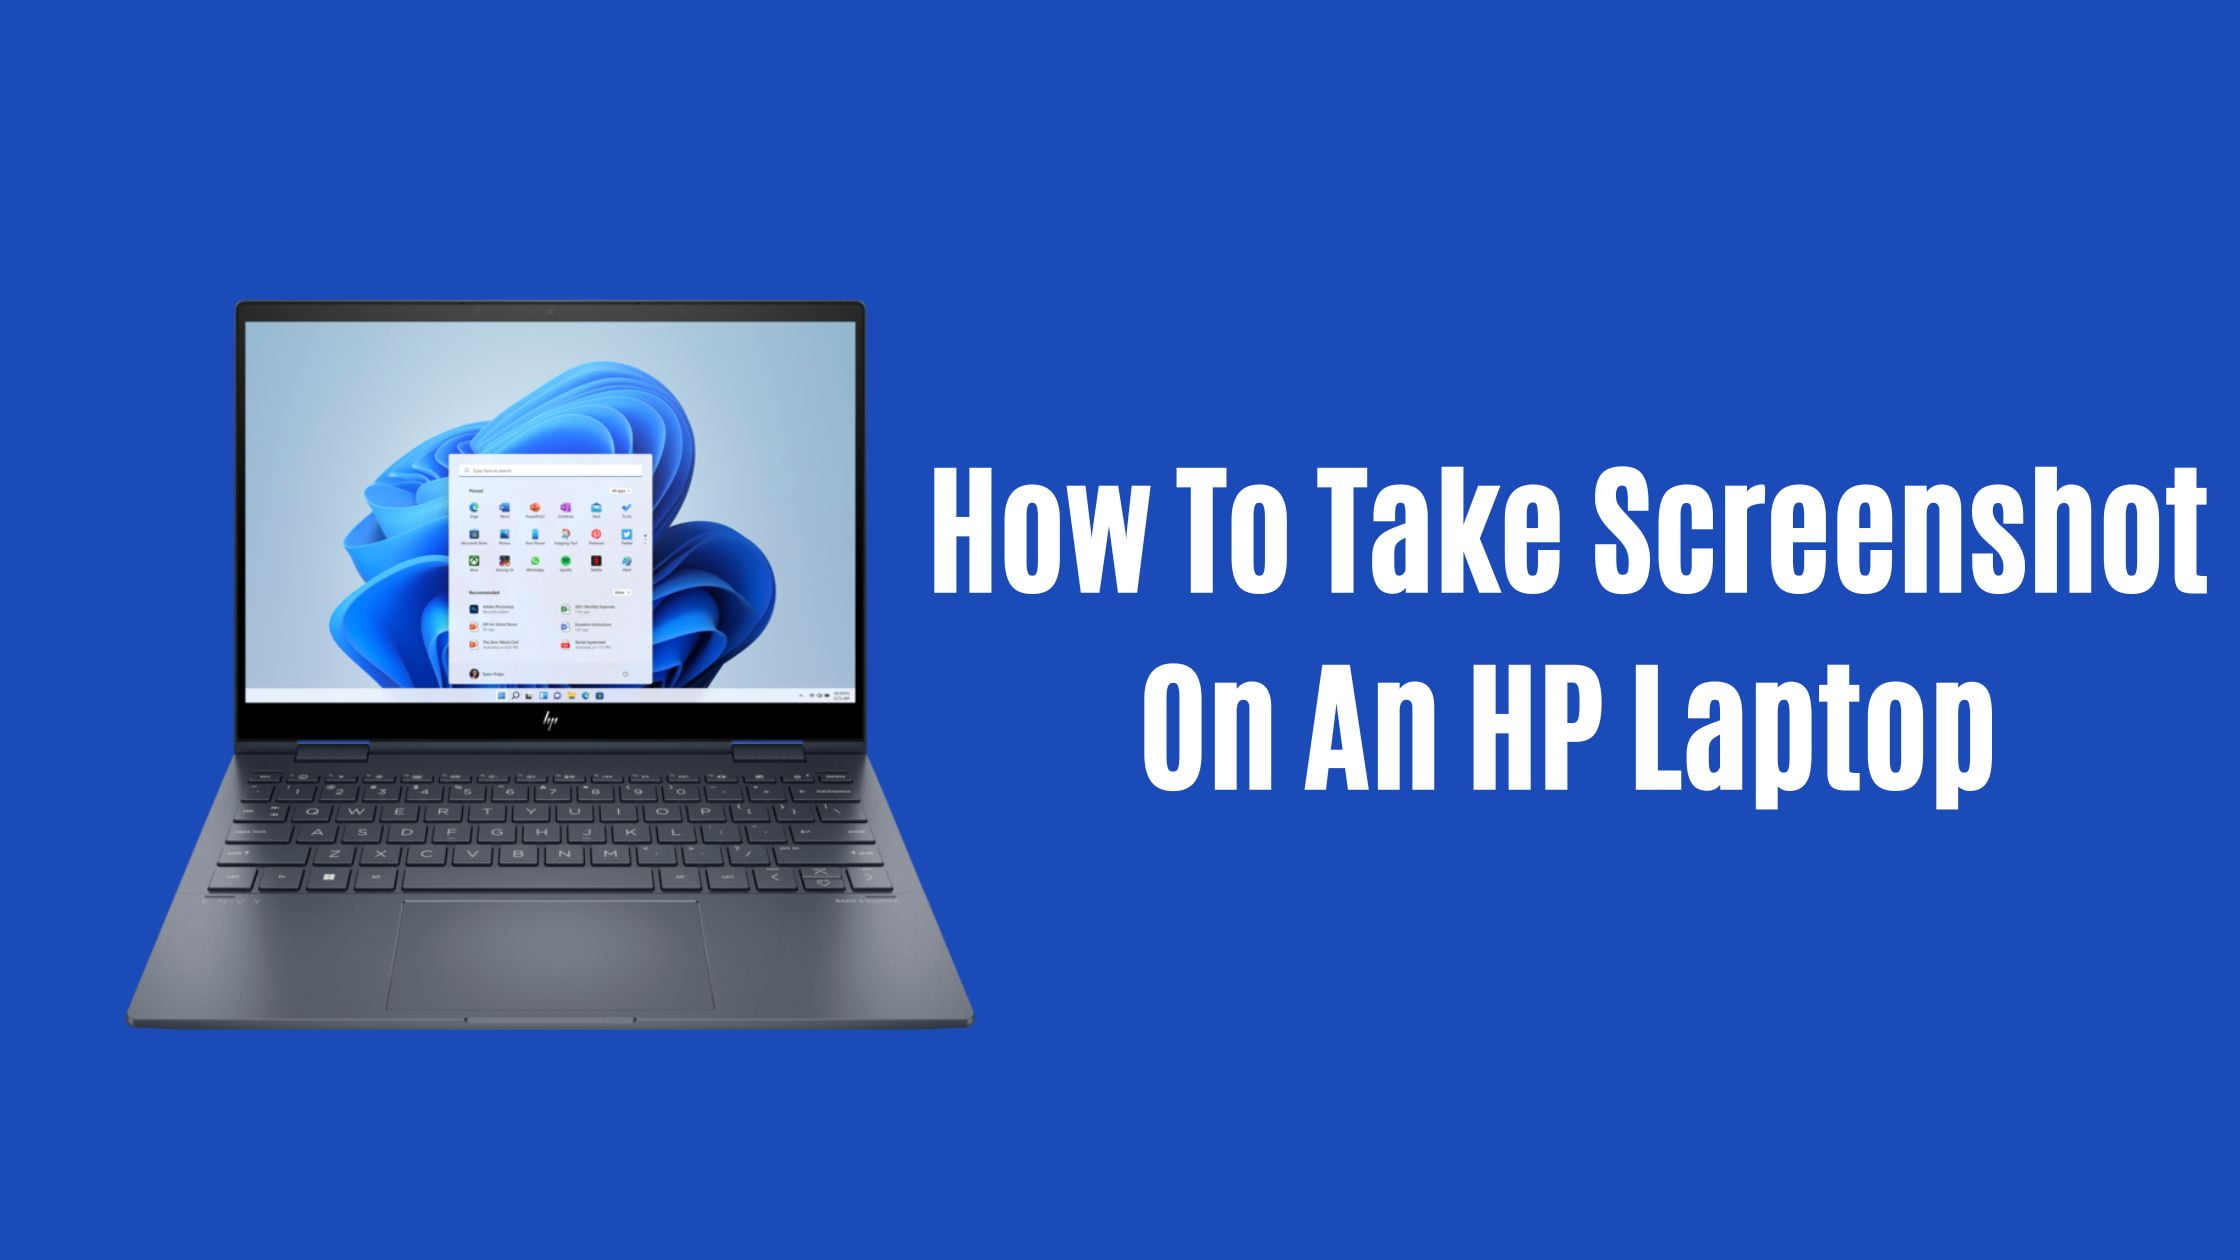
In this tutorial, we will show you the multiple methods to take screenshots on HP laptops. This tutorial is also applicable to HP desktop computers.
How to Take Screenshot on HP Laptop
1. Press the “PrtScn” key to take a Screenshot on Hp Laptop:
This is the most common and the default method for taking a screenshot on an HP laptop. Pressing the “PrtScn” key on the Laptop keyboard will capture a screenshot of the entire screen and save it to the clipboard. You can then paste the screenshot into an image editor or document to save it.
2. Use the “Windows + PrtScn” key combination to take a Screenshot on Hp Laptop:
This method is similar to the first, but it will automatically save the screenshot to a folder on your computer rather than copying it to the clipboard. To use this method, press the “Windows” key and the “PrtScn” key at the same time. The screenshot will be saved in the “Screenshots” folder, which you can find in the “Pictures” folder.
3. Use the “Alt + PrtScn” key combination to take a Screenshot on Hp Laptop:
This method will capture a screenshot of the active window, rather than the entire screen. To use this method, press the “Alt” key and the “PrtScn” key at the same time. The screenshot will be copied to the clipboard, and you can paste it into an image editor or document to save it.
4. Use the snipping tool to take a Screenshot on Hp Laptop:
The snipping tool is a built-in utility in Windows that allows you to take custom screenshots. This tool is available on Windows Vista, Windows 7, 8, 10, or 11. To use the snipping tool, go to the Start menu and search for “Snipping Tool.” Then, select the type of snip you want to capture (e.g., full screen, rectangular, freeform, etc.) and use your mouse to select the area you want to capture. The screenshot will be saved to your clipboard, and you can paste it into an image editor or document to save it.
5. Use the “Windows + Shift + S” key combination to take a Screenshot on Hp Laptop:
This method will allow you to take a screenshot of a specific part of your screen. To use this method, press the “Windows” key, the “Shift” key, and the “S” key at the same time. Your screen will then dim, and you can use your mouse to select the area you want to capture. The screenshot will be copied to the clipboard, and you can paste it into an image editor or document to save it.


![System 76 Pangolin Laptop Full Specs [2023]](https://itsubuntu.com/wp-content/uploads/2023/01/System-76-Pangolin-Laptop-Full-Specs.jpg)