Install Communitheme In Ubuntu
Ubuntu 18.04 is all set to be out in the market. There are plenty of new features going to be made available in Ubuntu 18.04 which set to release in April 26th, 2018.
Some of the new features in upcoming latest version are:
1)Support for color emojis
2)GNOME desktop environment
3) New GTK theme
4) Default graphics server will change to Xorg
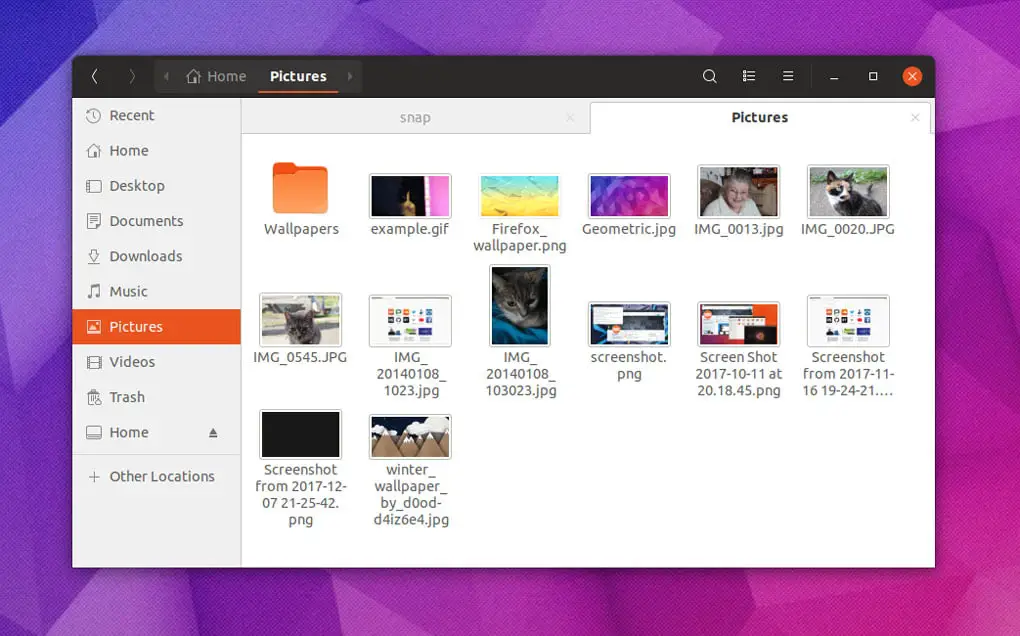
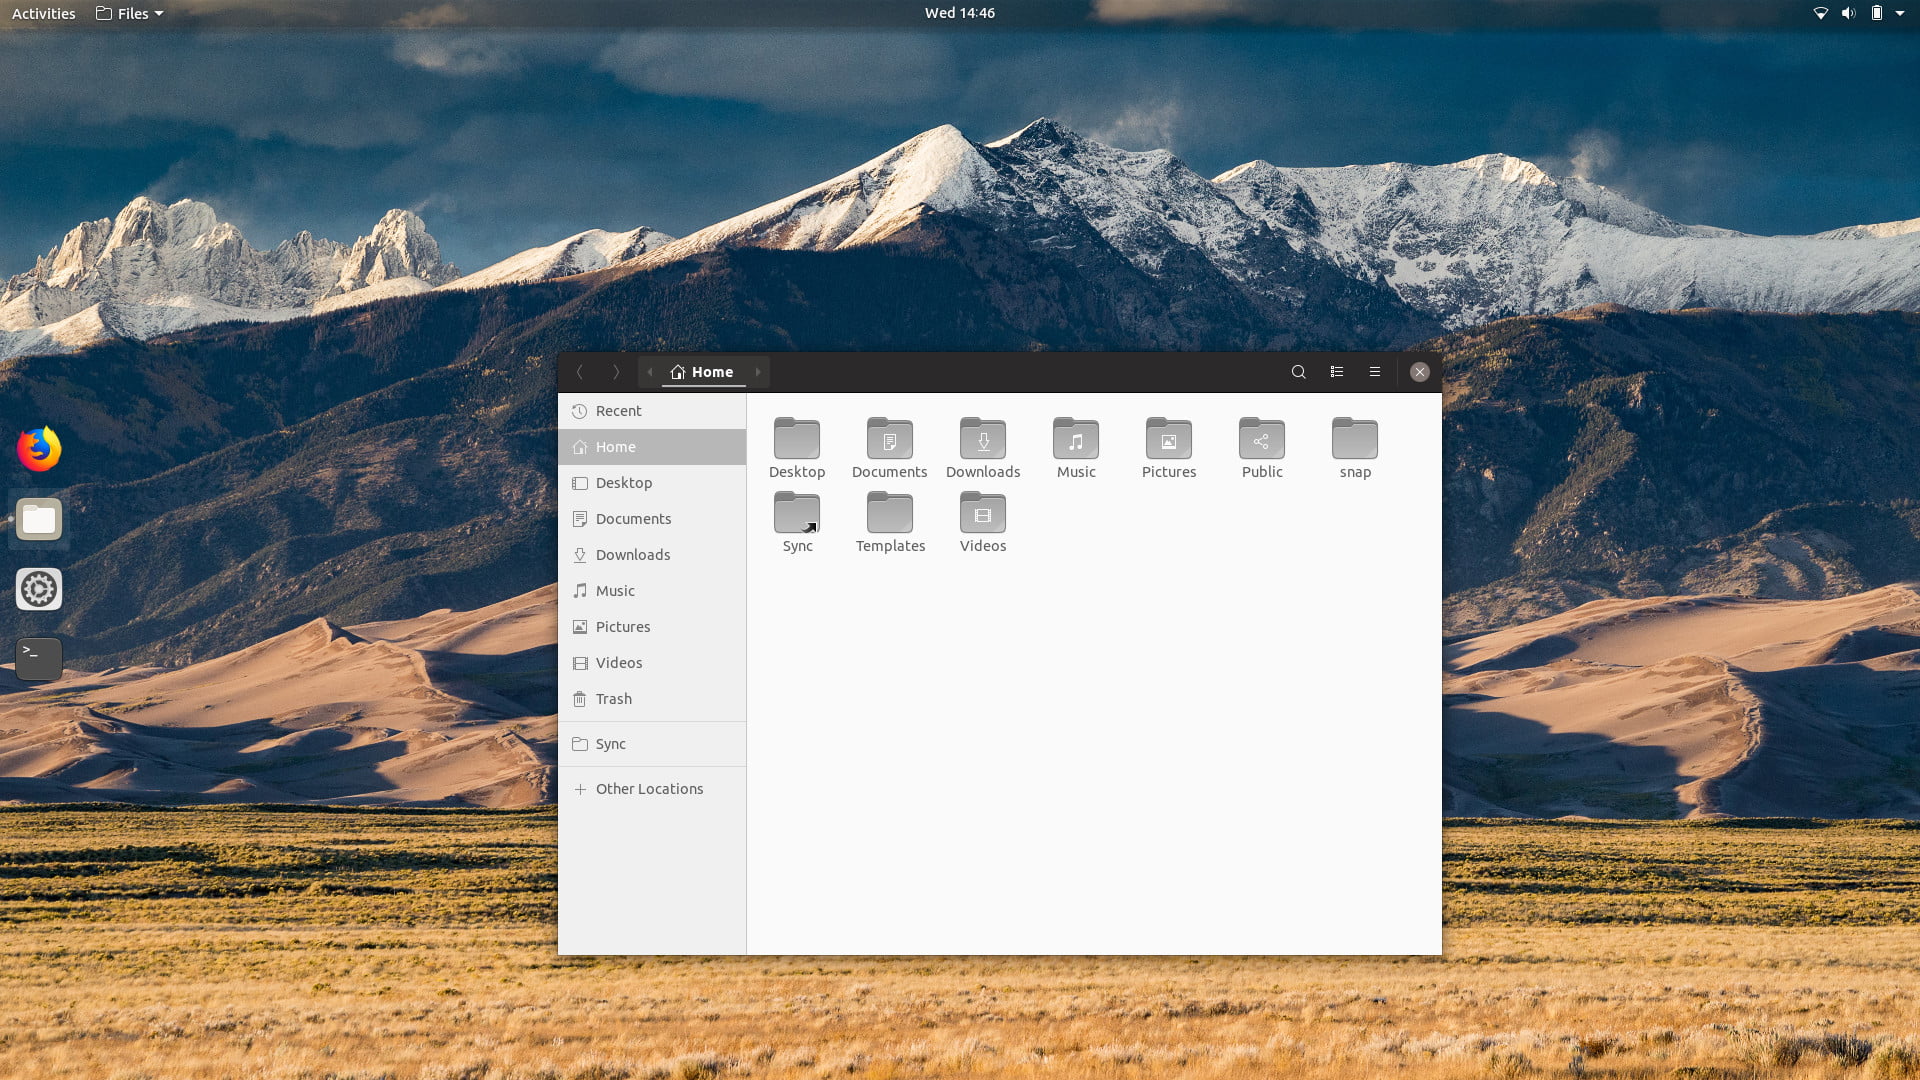
Ubuntu 18.04 will have new theme and it will be completely different from it’s older version. There will be new GTK theme replacing old ‘Ambience’ theme.
In this tutorial blog, we will show you the methods to install new theme which is still in development mode in your ubuntu operating system.

How To Install Communitheme In Ubuntu
At first, add a repository in your ubuntu operating system through the terminal:
sudo add-apt-repository ppa:communitheme/ppa
After adding a repository, update your system/package list:
sudo apt update
And install the new Communitheme:
sudo apt install ubuntu-communitheme-session
Now after doing this, you need to logout of your system and chose the theme after logging back to your system.
Meanwhile, This theme is still in development mode or we can say number of developer commiting to the master branch of the github repository so it will be wise enough to upgrade and update your system.
sudo apt update
Get a list of the latest software that’s available in the repositories.
sudo apt upgrade
Upgrade your packages to the latest version.
I hope it works in your version of Ubuntu operating system. Please don’t forget to follow our blog by liking to our social media pages and sharing this contents to your friends.
We will updating our blog with latest ubuntu tutorials, freebies, tips and tricks. We will be happy enough to hear your comments or feeback in this post and also in our blog.


