Tutorial To Install Ubuntu 20.04 Alongside With Windows 11 In Dual Boot
Ubuntu 20.04 was released on April 23, 2020. It is the latest LTS version at the time of this article writing. Ubuntu 20.04 LTS will have a support of 5 years, by Canonical.
This post helps you to install Ubuntu 20.04 in dual boot with Windows 11. Windows 11 is the latest Windows operating system from Microsoft.
Install Ubuntu 20.04 Alongside With Windows 11 In Dual Boot
At first, you need to download Ubuntu 20.04 LTS ISO from the official website of Ubuntu.
Now Create a Live USB With Ubuntu 20.04 LTS
You can easily create a bootable USB drive with the help of popular tools like Rufus or Unetbootin.
Prepare the Windows Operating System For Dual-Boot
In this step, you need to create unallocated space for Ubuntu installation. If you don’t have any unallocated space in your system. You can delete one of your available partition and create enough available space for Ubuntu. We suggest you have 100 GB of unallocated space for the Ubuntu installation. Meanwhile, Ubuntu 20.04 requires 25GB of disk space for the installation.
Now, you need to boot your system from Ubuntu 20.04 LTS bootable USB drive.
Boot from USB Drive.
You might need to access your BIOS setting to change the boot sequence on BIOS/UEFI to boot a system from DVD/USB. If you are booting in the UEFI system then select Ubuntu from the GRUB menu and then press Enter.
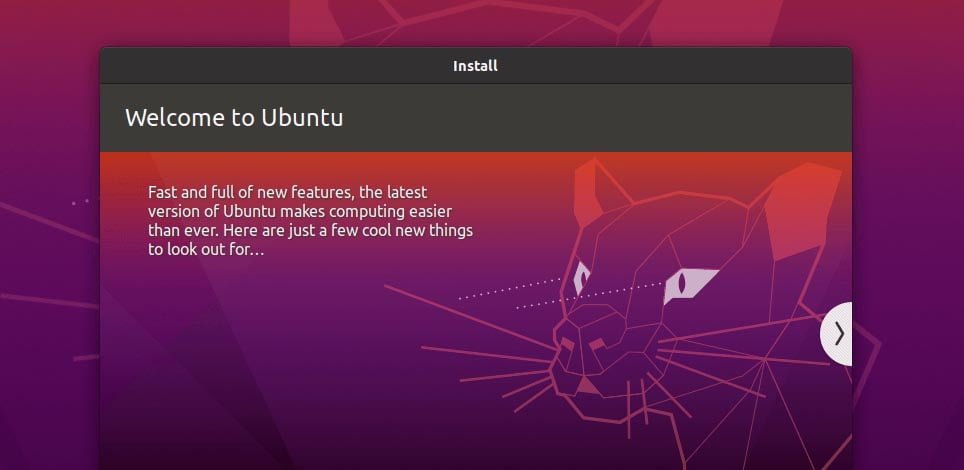
After a while, you will see a welcome screen where you will get the option of installing Ubuntu or trying it. Click on the Install Ubuntu button and you will see the next windows where you can select the keyboard setting. Choose the Keyboard and then click Continue to proceed further.
Now, you will see the screen from where you can choose the type of installation. You can go either with Minimal Installation or Normal installation. You can have also the option of installing system updates and third-party software during OS installation.
Now you will see the most important part of the Ubuntu installation alongside Windows 11 and this one is Disk selection or disk partitioning. If you are in UEFI System you will see the following three option:
- Install Ubuntu alongside Windows Boot Manager
- Erase disk and install Ubuntu
- Something else
If you are in the Legacy system, then you will see something like this:
- Install Ubuntu Alongside Windows 10
- Erase disk and install Ubuntu
- Something else
In either case, go with the something else option. Here you can create partitions manually with the size you want. We will create the following partition in the unallocated space:
- /boot – 10GB (Optional for legacy bios system )
- /home – 30GB
- swap – 8GB
- / – Remaining space in your unallocated partition.
When finished, hit the Install Now button in order to apply changes to the disk and start the installation process of Ubuntu 20.04 LTS alongside Windows 11.
On the next screen select your physical location from the map and then click Continue to move ahead.
Now, On the next screen, you need to configure your username and password for your administrative sudo account and Continue to finalize the complete installation of the Ubuntu20.04 LTS alongside Windows 11. It might take up to 30 minutes to complete. Once Ubuntu 20.04 LTS installation is complete, click Restart Now to reboot the machine. After rebooting your system, you will see the Grub menu, where you will see both Ubuntu 20.04 LTS and Microsoft Windows 11. From here, you can select the operating system of your choice and use it.