Tutorial To Install MATE Desktop Environment On Ubuntu 20.04 LTS
In this post, we will go through the process fo installing the MATE desktop environment on Ubuntu 20.04 LTS. The MATE Desktop Environment is the continuation of GNOME 2.
You might like:
- Ubuntu 20.04 LTS Released
- How To Upgrade To Ubuntu 20.04 LTS
- Things To Do After Installing Ubuntu 20.04 LTS
- Must Have Apps For Ubuntu 20.04 LTS
- Beautiful Linux Themes For Ubuntu 20.04 LTS
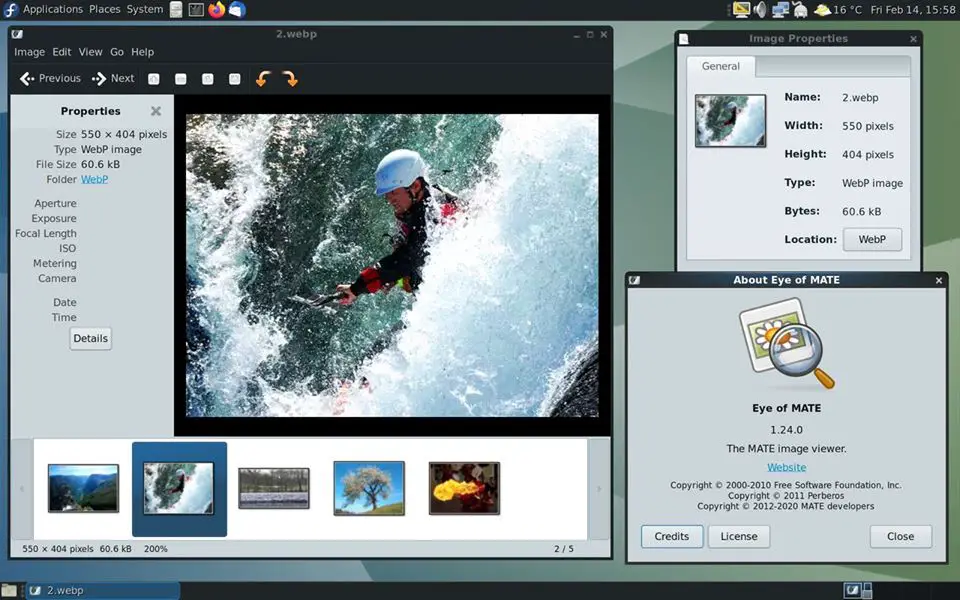
At the time of this article writing, MATE 1.24 is the latest version.
Install MATE Desktop Environment On Ubuntu 20.04 LTS
At first, you need to update your Ubuntu 20.04 LTS before installing the MATE desktop environment. Run the following command:
sudo apt update && sudo apt upgrade -yNow, run the following command to install the MATE desktop environment on Ubuntu 20.04 LTS.
Note: MATE desktop environment is already available in the Ubuntu repository so you don’t need to add any PPA.
sudo apt install ubuntu-mate-desktopYou might need to choose the “lightdm” and “gdm3” as they are the login screen for your new desktop environment.
Now, restart your system and you will see more than one option in the login screen. Select the Mate desktop and start using your new desktop environment in Ubuntu 20.04 LTS.