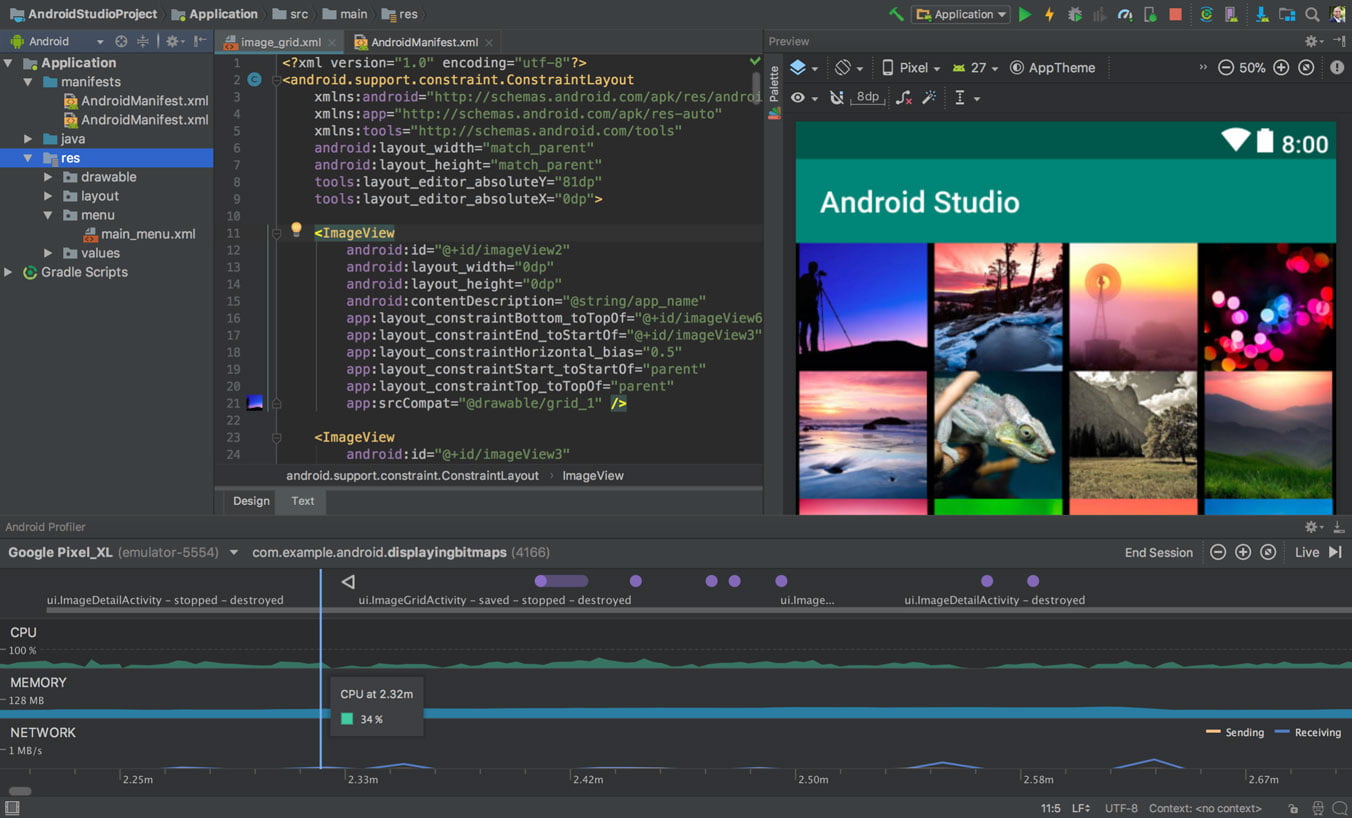
Insight: Install Android Studio on Ubuntu 18.04 LTS
Android Studio is an official IDE for android development. Developed by Google and Jetbrains, Android Studio is popular IDE tool which is available for Windows, Mac and Linux based system.
Some of the features:
- Gradle-based build support
- Android-specific refactoring and quick fixes
- Lint tools to catch performance, usability, version compatibility and other problems
- ProGuard integration and app-signing capabilities
- Template-based wizards to create common Android designs and components
- A rich layout editor that allows users to drag-and-drop UI components, option to preview layouts on multiple screen configurations
- Support for building Android Wear apps
- Built-in support for Google Cloud Platform, enabling integration with Firebase Cloud Messaging (Earlier ‘Google Cloud Messaging’) and Google App Engine
- Android Virtual Device (Emulator) to run and debug apps in the Android studio.

Well, let’s see the various methods to install Android Studio on Ubuntu 18.04 LTS
Install Android Studio on Ubuntu 18.04 LTS
Method 1: Install via Snap
Install Android Studio On Ubuntu 18.04 LTS Via Snap
Open your terminal and run the following command to install android studio on Ubuntu 18.04 via snap:
sudo snap install android-studio --classic
Method 2: Command Line Installation
At first install java in your system:
$ sudo apt install openjdk-9-jre openjdk-9-jdk
Now, Install Android Studio in Ubuntu:
sudo add-apt-repository ppa:maarten-fonville/android-studio

sudo apt update

sudo apt install android-studio
Installation has been done, You can access android studio from the app launcher.
Method 3: Install via make command:
Here at first, Install Ubuntu make from PPA.
sudo add-apt-repository ppa:ubuntu-desktop/ubuntu-make

sudo apt update

sudo apt install ubuntu-make
Now Install android studio using make:
umake android --accept-license
Enjoy !!


![How To Remove Software In Ubuntu 22.04 LTS [ All Ubuntu Version]](https://itsubuntu.com/wp-content/uploads/2023/01/How-To-Remove-Software-In-Ubuntu.jpg)


