In short: Install Linux, Nginx, MySQL, PHP On Ubuntu 18.04 : LEMP Stack
LEMP is a group of software which is used to run the web based application either in a local system or in a remote server.
L: Linux
E: Engine-X or Ngnix
M: MySQL
P: Php
Before moving to installation, we hope you have Ubuntu ( Linux) installed in your system.
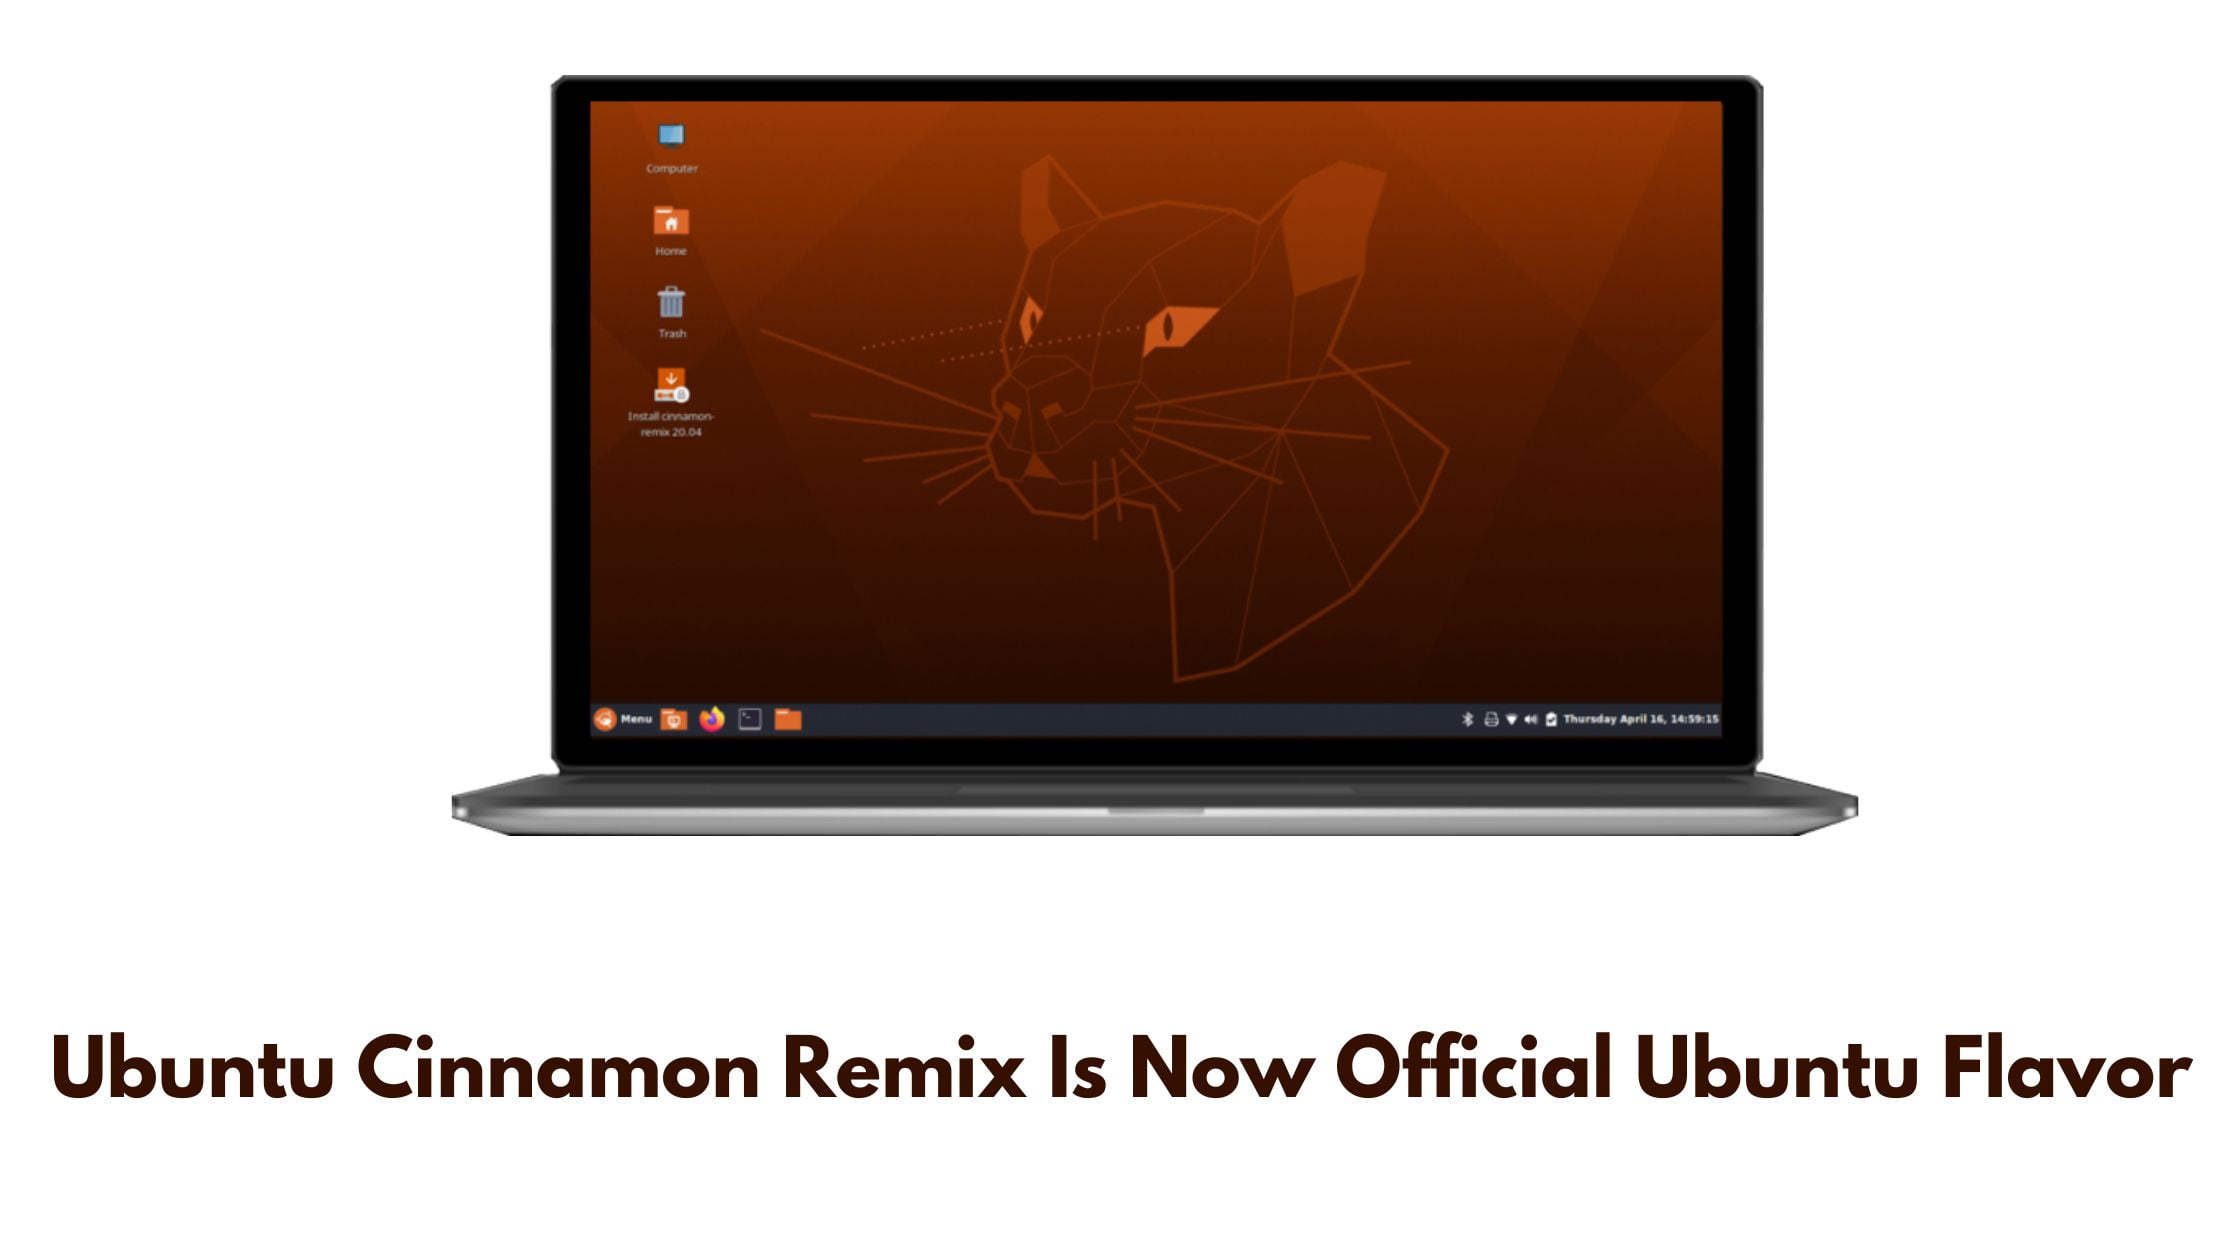
Install Linux, Nginx, MySQL, PHP On Ubuntu 18.04 : LEMP Stack
1. Install Nginx On Ubuntu 18.04
Open the Terminal, and run the following command to install Nginx webserver:
$ sudo apt install nginx
After installing Nginx, check if Nginx service is running or not using command:
$ sudo systemctl status nginx
In case if it is not started run the following command:
$ sudo systemctl start nginx
Firewall setting to allow Nginx web server
You won’t be able to access the Nginx web browser from remote systems if you have enabled the UFW firewall in Ubuntu 18.04 LTS. To allow it, you will need to allow connections to Nginx. Run the following command to enable it:
At first, Let us check out the which applications have installed a profile. Use the following command to check.
$ sudo ufw app list
Available applications:
Nginx Full
Nginx HTTP
Nginx HTTPS
OpenSSH
Let’s allow the traffic on port 80.
sudo ufw allow 'Nginx HTTP'
2. Install MySQL On Ubuntu 18.04 LTS
sudo apt update
Then install the default mysql server package:
sudo apt install mysql-server
It will install mysql server in your Ubuntu system without any hassle but this method generally leaves your MySQL open to unauthorized access.
Let’s run the security script to make MySQL more secure:
sudo mysql_secure_installation
You will be asked to maintain various security option like password for root user. It will also asked you to remove some anonymous users and the test database, disable remote root logins, and more.
Now, In order to use a password to connect to MySQL as root, you need to chance its authentication method to mysql_native_password from auth_socket.
To configure the root account to authenticate with a password, run the following command to MySQL prompt.
sudo mysql
In MySQL terminal run the following commands:
ALTER USER 'root'@'localhost' IDENTIFIED WITH mysql_native_password BY 'password';
Then, Now run the FLUSH PRIVILEGES
FLUSH PRIVILEGES;
Exit the MySQL shell:
mysql> exit3. Install PHP
To install PHP, run the following command:
$ sudo apt-get install php-fpm php-mysql
Check PHP-FPM service is running or not:
$ sudo systemctl status php7.2-fpm
As we have installed every required components, now its time to configure Nginx to use the PHP processor.
To do so, let’s open a new server block configuration file within the /etc/nginx/sites-available/ directory.
We will be using server block configuration file is named itsubuntu.comm, which is a sample name and the name can be of your choice too:
sudo nano /etc/nginx/sites-available/example.comNote: Most important thing is that we are editing the default server block configuration file.
Add the following content to new server block configuration file:
server {
        listen 80;
        root /var/www/html;
        index index.php index.html index.htm index.nginx-debian.html;
        server_name itsubuntu.com;

        location / {
                try_files $uri $uri/ =404;
        }

        location ~ \.php$ {
                include snippets/fastcgi-php.conf;
                fastcgi_pass unix:/var/run/php/php7.2-fpm.sock;
        }

        location ~ /\.ht {
                deny all;
        }
}
Save and close the file.
Enable new server block by creating a symbolic link:
sudo ln -s /etc/nginx/sites-available/example.com /etc/nginx/sites-enabled/
Now, reload the nginx
sudo systemctl reload nginxNow create a test PHP file called info.php in your document root:
sudo nano /var/www/html/info.phpType the following lines into the new file, save and close the file onward:
<?php
phpinfo();
Open your browser and visit the saved file or info.php
http://your_domain_or_IP/info.php
eg: http://localhost/info.php
You will see the PHP information page loading up.
It’s done now 😉
LEMP is installed.
Share this tutorial to Install Linux, Nginx, MySQL, PHP On Ubuntu 18.04 with your friends